I was surfing the net for new inspirations...and tadaaaa! Solid Gold!
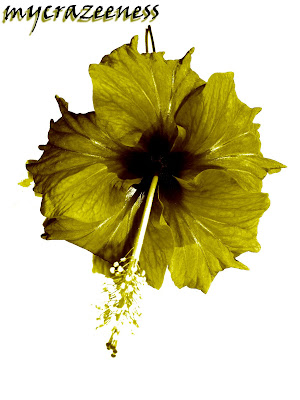 Works on anything. Cars, flowers, handphones... ANYTHING!
To start off, choose your image. Best if its something with a solid background or else you would have to do some extra work to extract your image. I was lazy to browse for better photos so I'll just use one of a Hibiscus that I shot in Camerons.
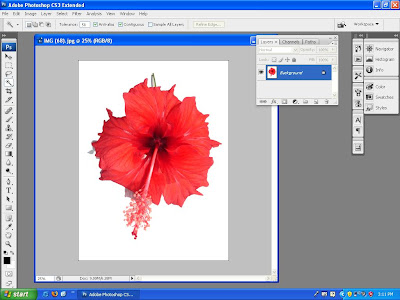
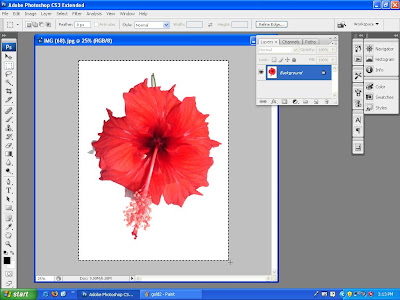
Select the Rectangular Marquee tool ( the one with the dotted box ) or simply press M on your keyboard. Drag it across your whole image and then press Ctrl + C to copy the image.
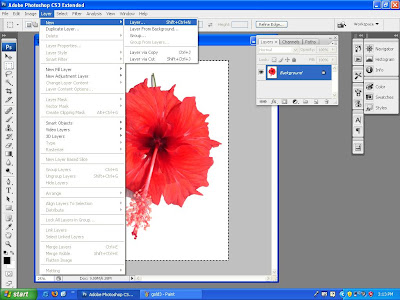
 Next, go to Layer > New > Layer or simply press Ctrl + Shift + N to add a new layer.
Then, press Ctrl + V to paste the image onto the new layer.
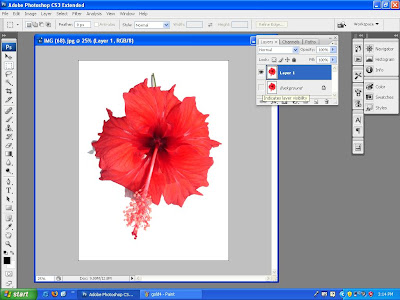
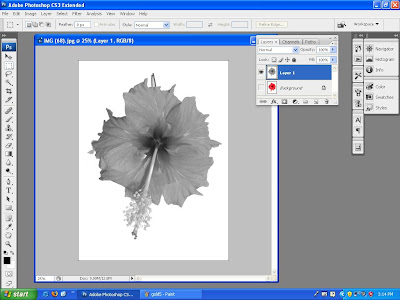
Now, in the layer box see the small little eye on both layers. Deselect the background 'eye'. Then, go to Image > Adjustments > Desaturate. You should get a greyscaled image now.
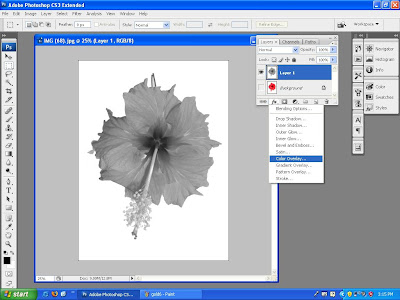
Next, click on the fx button found at the bottom of the Layer box and select Color Overlay.
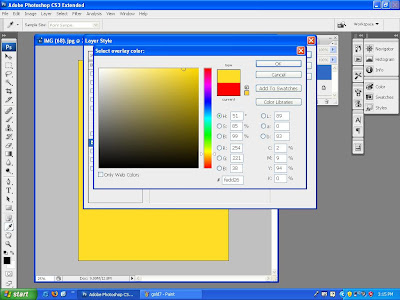
Select a Golden Yellow colour and change the blend mode to Color Burn.
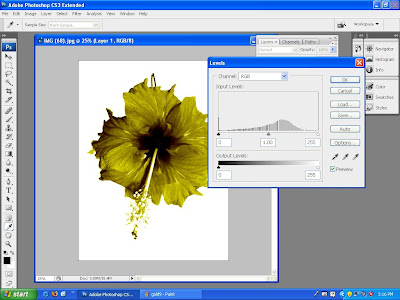
 Finally, go to Image > Adjustment > Levels. Play around with the bar until you get the effect you want and tadaa...you are done!

2 comments:
Nicee~
I needa get photoshop after exams. haha. altho.. it still seems like there're loads to do just to edit a pic. maybe just to someone lazy like me. haha.
:) thanks!
it depends on how you wanna edit...
when you have nothing better to do...photoshop rocks!
Post a Comment