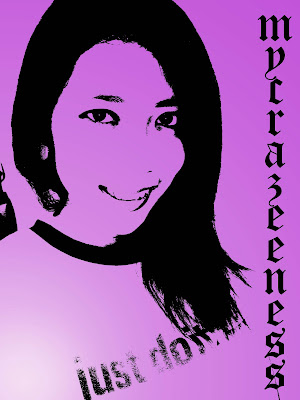
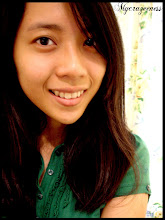
I'll call this one Retro cause it looks retro. Well, to me at least.

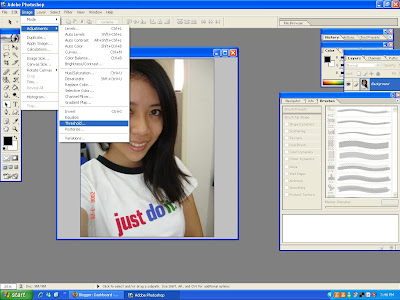
To start off, open a photo that you wanna edit. Then, click on Image > Adjustments > Threshold.
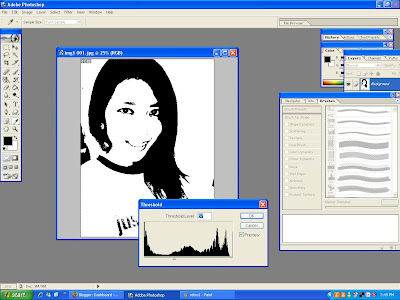
The Threshold option box will pop up. So what you need to do now is to adjust the bar found just below the graphy thing. To the left, there will be more white area and to the right, more black area. When you are happy with it, just click 'OKAY'.
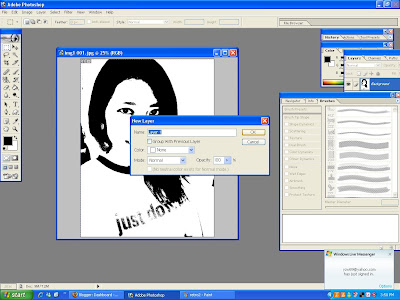
Next thing to do is to add a New Layer. Shortcut is Ctrl+Shift+N or simply go to Layer > Add new layer. A box will pop up, just click ok.
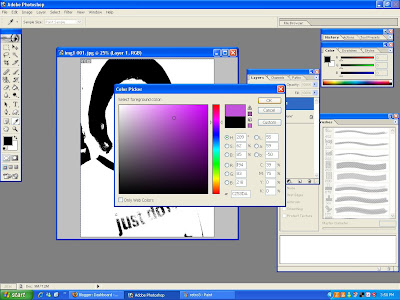
 Then, click on the colour chart found on the upper right hand corner. See that colourful bar thing? I'm talking about that. Choose the colour you want. I'm taking purple. Don't go for dark colours cause you will end up seeing nothing on your photo.
Next, see the paint bucket tool on the right? Its actually the filling tool. Click on that and then click on the image.
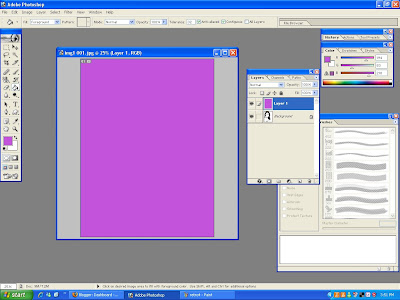
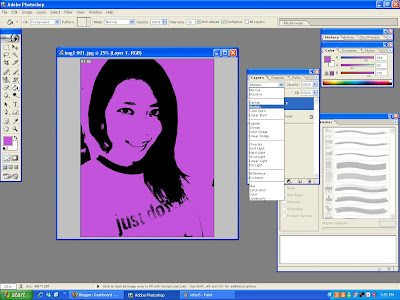
Then, if you know how to go to Blending Options...go there and select Multiply. Otherwise, see the Layer box in the image below. Click on the options and then Multiply. If there is no Layer box in your workspace, go to Window (from the toolbar on top) and then click on Layer.
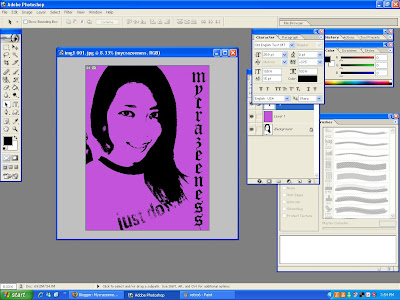
Add Text if you want to with the text tool.
End result.
0 comments:
Post a Comment