This time, its perfect! Can start cake-selling business already. LOL.


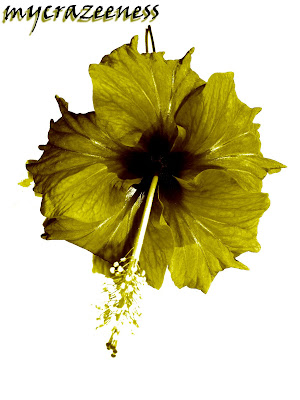 Works on anything. Cars, flowers, handphones... ANYTHING!
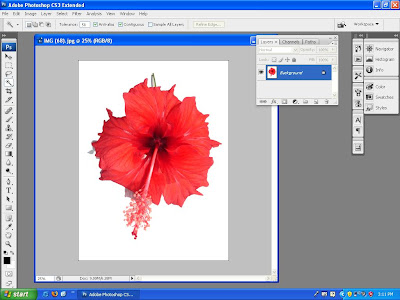
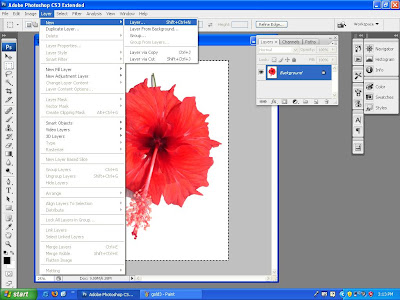
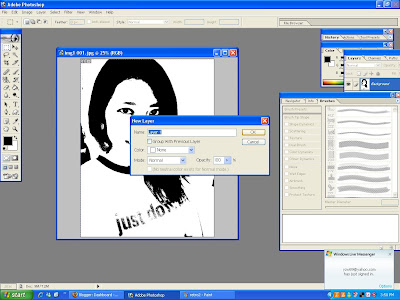
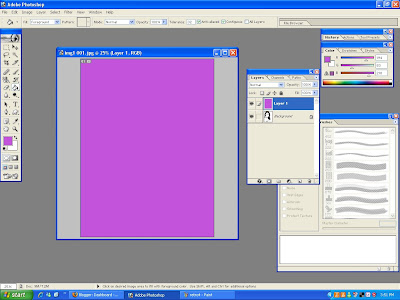
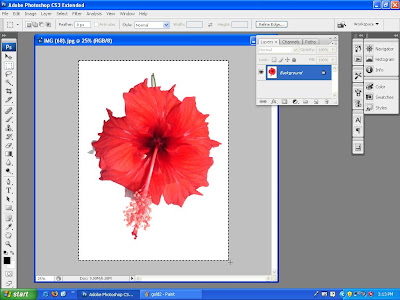 Next, go to Layer > New > Layer or simply press Ctrl + Shift + N to add a new layer.
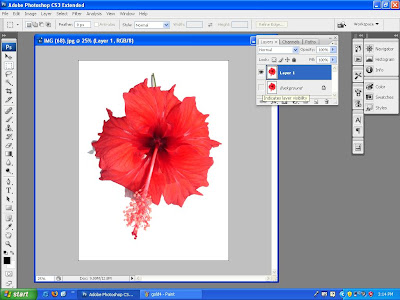
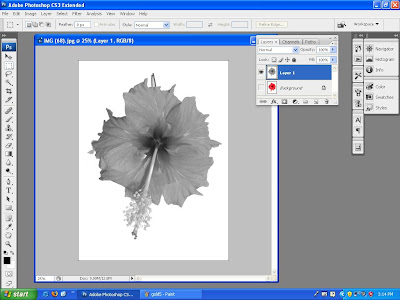
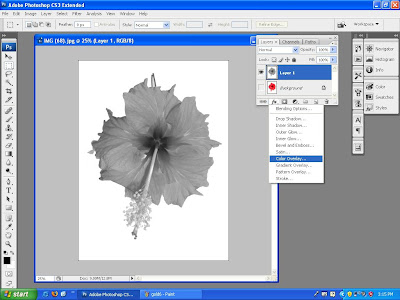
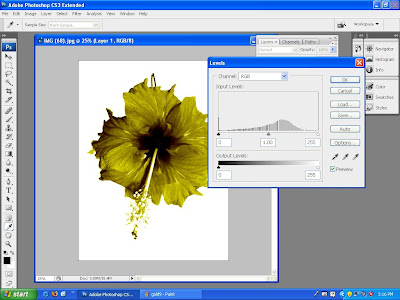
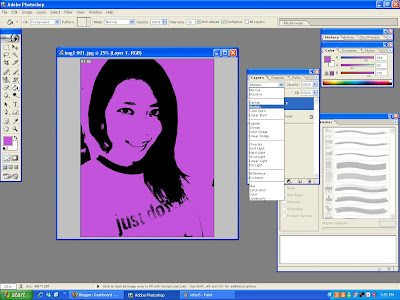
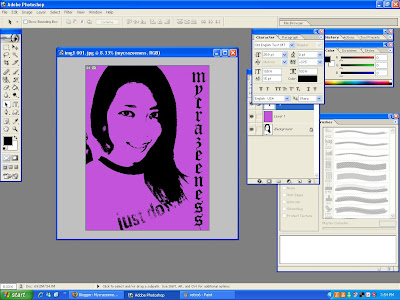
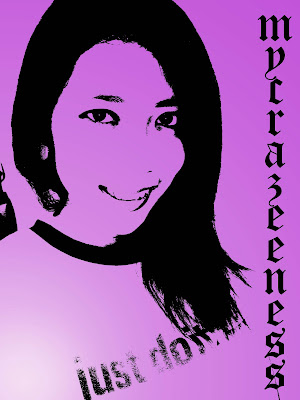
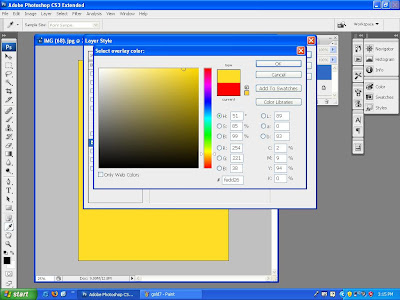 Finally, go to Image > Adjustment > Levels. Play around with the bar until you get the effect you want and tadaa...you are done!

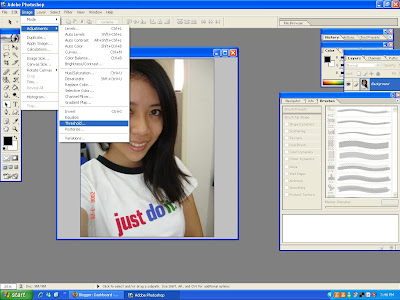
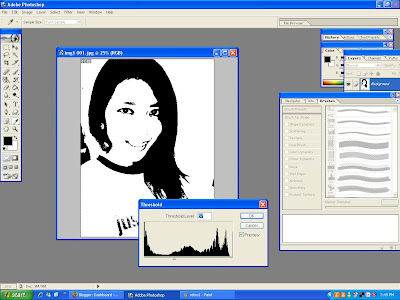
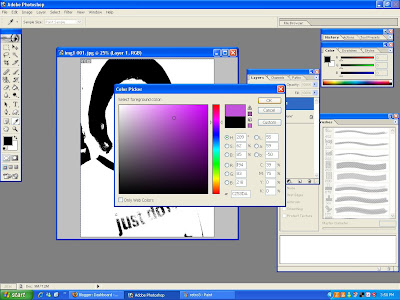
 Then, click on the colour chart found on the upper right hand corner. See that colourful bar thing? I'm talking about that. Choose the colour you want. I'm taking purple. Don't go for dark colours cause you will end up seeing nothing on your photo.
the continuation of the Penang post shall have to wait.
Laptop crashed! *prays hard that I can save my files there*
